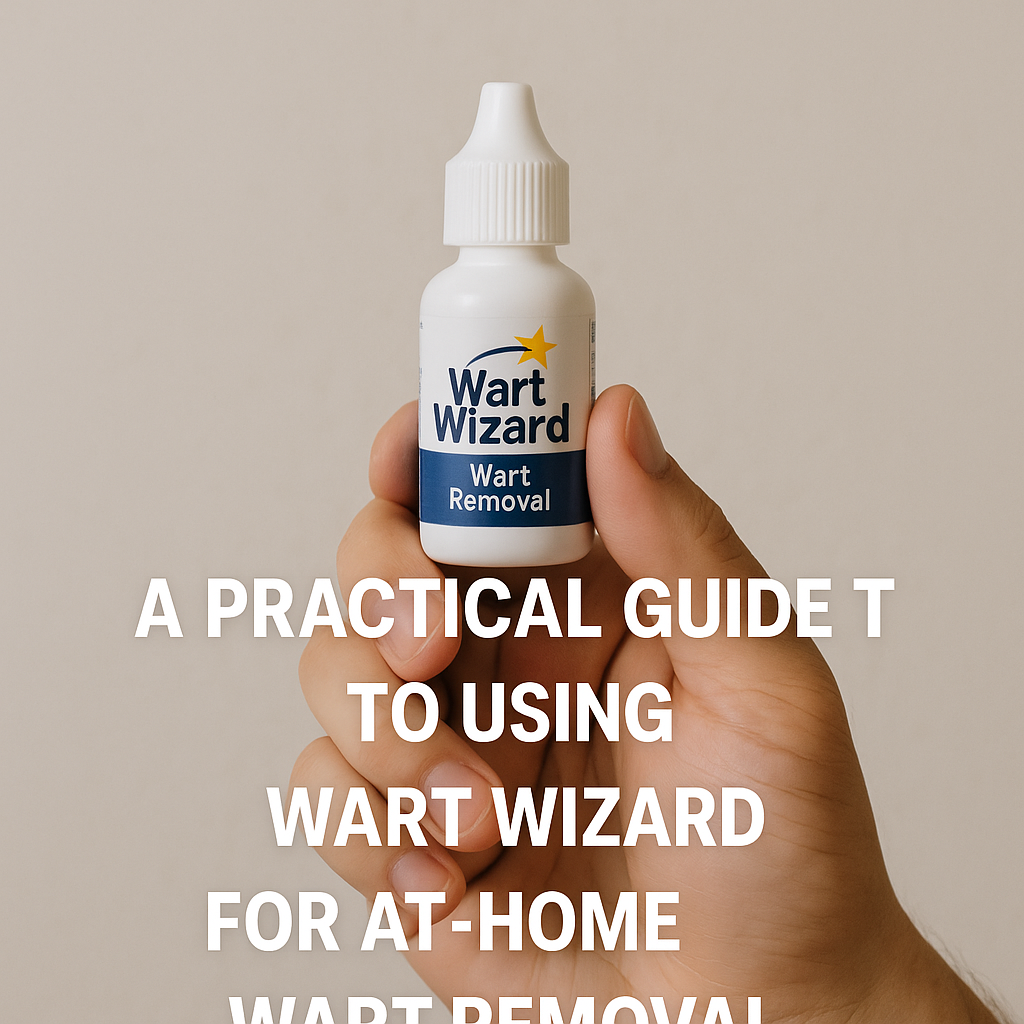
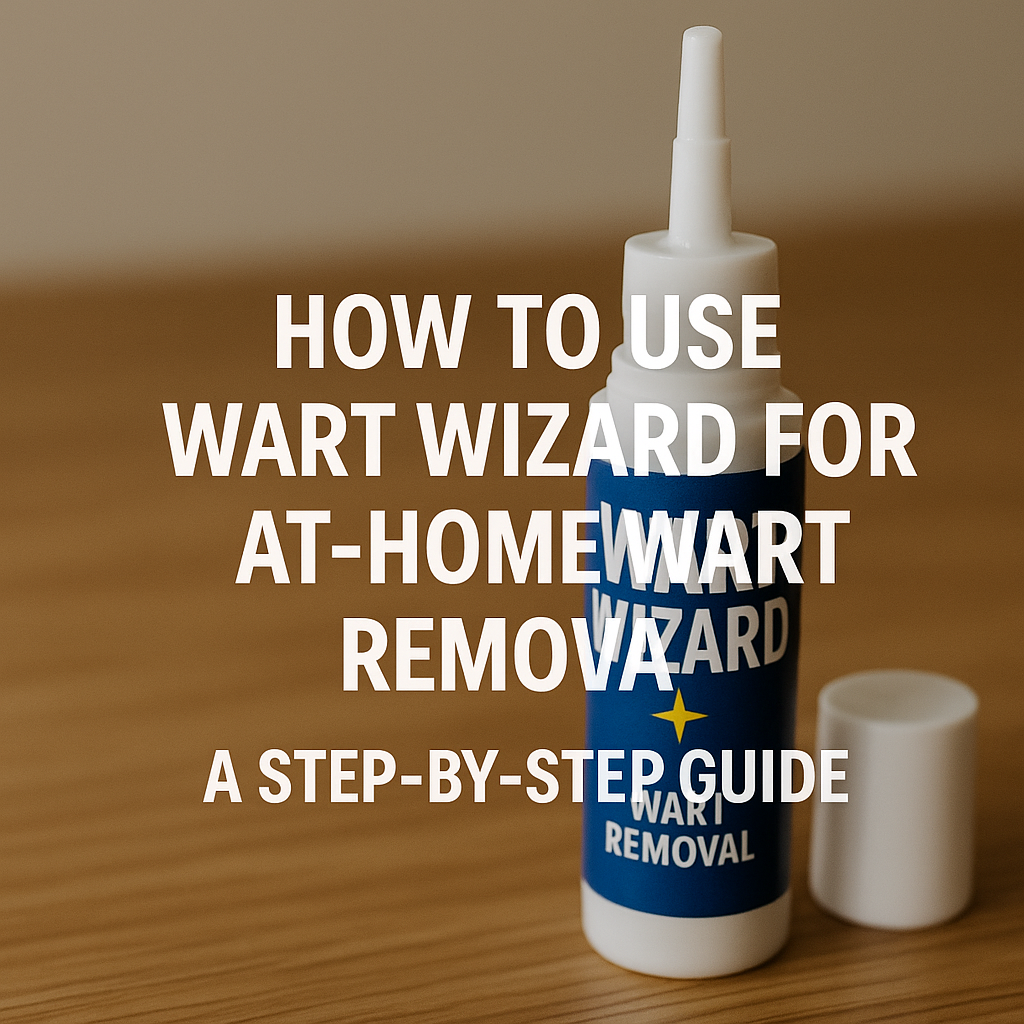
Removing warts at home can be straightforward if you understand how the product works, prepare your skin correctly, and follow a clear routine. This guide walks you through how to use Wart Wizard for wart removal at home, what to expect, and when to stop and seek medical advice.
Before You Start: Safety and Expectations
Most over-the-counter wart treatments (including products like Wart Wizard) are designed for common warts and sometimes plantar warts. They are not meant for genital warts, warts on the face, or any suspicious lesions that are changing quickly, bleeding, or very painful. Those require prompt medical evaluation.
Always read the instructions that come with your specific Wart Wizard product. Different formulas (gels, liquids, pads, or freeze-style kits) can have different directions, contact times, and frequency of use.
Step 1: Confirm It’s Likely a Common or Plantar Wart
Before using Wart Wizard at home, take a moment to make sure the growth looks like a typical wart. Common signs include:
- A small, rough bump that disrupts normal skin lines
- Pinpoint black dots inside the wart (tiny clotted blood vessels)
- On the feet: a flat or slightly raised patch that hurts when you squeeze from the sides
Do not self-treat with Wart Wizard if the area is:
- On the face, lips, genitals, or around the nails
- Very dark, irregular in shape, rapidly growing, or bleeding easily
- On very fragile skin, such as in people with poor circulation or severe diabetes, unless a clinician approves it
If you are unsure whether it is a wart, it is safer to ask a healthcare professional before starting any at-home wart removal.
Step 2: Gather Your Wart Wizard Kit and Supplies
To make the process smooth, set up everything you need in one place. Along with your Wart Wizard product, it’s useful to have:
- Mild soap and warm water for cleaning the area
- A clean towel or paper towels
- Disposable emery board or pumice stone (only for the wart, not shared on healthy skin)
- Cotton swabs or cotton balls for precise application
- Petroleum jelly or thick ointment to protect surrounding skin (if recommended for your product type)
- Small bandages or medical tape to cover the area if directed
Step 3: Prepare the Skin for Treatment
Good preparation helps Wart Wizard work more effectively:
- Wash the area with mild soap and warm water. Rinse well and pat completely dry.
- If you are treating a thick or plantar wart, you may optionally soak the area in warm (not hot) water for 5–10 minutes to soften the skin, then dry thoroughly.
- Use a disposable emery board or pumice stone to gently file away some of the dead, thick skin on top of the wart, if the product directions allow this. Do not file until it bleeds. Stop if you feel pain.
- After filing, discard the emery board or thoroughly rinse and set aside the pumice stone so it is only ever used for this wart, not on healthy skin.
Step 4: Protect the Healthy Skin Around the Wart
Many wart treatments work by irritating or chemically breaking down wart tissue. That means they can also irritate normal skin if they spread too far.
To reduce irritation:
- Apply a thin ring of petroleum jelly or ointment around (not on) the wart to create a barrier.
- For small warts, you can cut a tiny hole in a piece of adhesive bandage or tape so only the wart shows through, then apply Wart Wizard through that opening if this does not conflict with your product’s instructions.
Step 5: Apply Wart Wizard Correctly
Follow the instructions that came with your specific Wart Wizard product. The general approach for common liquid or gel wart removers is:
- Shake or open the product as directed.
- Use the provided applicator or a cotton swab to apply a small amount of Wart Wizard directly onto the wart surface. Avoid getting it on surrounding skin.
- Ensure the wart is fully covered but not dripping. More product is not always better and can increase irritation.
- Allow the area to dry fully before covering it or putting on socks/shoes.
If your Wart Wizard kit is a freeze-style treatment instead of a liquid or gel, the steps will differ (for example, assembling the applicator, activating the freezing agent, and holding it against the wart for a specific number of seconds). In that case, follow the timing and safety warnings in the package very carefully and avoid treating the same spot repeatedly in one session.
Step 6: Cover or Leave Open as Directed
Some Wart Wizard products recommend covering the treated wart with a bandage or pad; others work best when left open to air.
- If the directions say to cover: use a small, clean bandage and change it if it becomes wet or dirty.
- If the directions say to leave it uncovered: avoid friction from clothing and shoes as much as possible.
Step 7: Repeat Wart Wizard Treatments on Schedule
Most at-home wart removal systems require consistent, repeated use over several weeks. Warts often disappear gradually rather than overnight.
General patterns (always defer to your specific instructions):
- Liquid/gel type: commonly used once daily or once every few days.
- Freeze-type: often used once, then waited on for 10–14 days before considering a repeat treatment.
Track each application on a calendar or in a note on your phone so you don’t lose track of how long you’ve been treating the wart.
Step 8: Monitor the Wart’s Progress
As you continue using Wart Wizard at home, watch for typical signs that the wart is responding:
- The wart may turn white or look waterlogged after treatments.
- Over time, the surface should become thinner, smaller, and less rough.
- Those tiny black dots may disappear as the wart tissue is destroyed.
Periodically (for example once a week):
- Soak the area in warm water, dry it, and gently file away loose dead skin (if allowed by the instructions).
- Stop filing if there is pain or bleeding.
When to Stop or See a Doctor
Even with careful at-home use of Wart Wizard, there are clear situations where you should pause treatment and get professional guidance:
- Severe pain, blistering, or open sores appear around the treated area.
- The skin becomes very red, swollen, or oozing, which may signal an infection or intense irritation.
- You have used Wart Wizard consistently for several weeks and the wart is not shrinking or is spreading.
- You notice multiple new warts appearing nearby or in other locations.
- You have a condition that affects healing (such as diabetes or poor circulation in the feet) and the area is not looking healthy.
In any of these cases, stop applying Wart Wizard and contact a healthcare professional for a proper evaluation and alternative treatment options.
Tips to Prevent New Warts While You Treat
Because warts are caused by certain strains of the human papillomavirus (HPV), preventing spread is just as important as treating the wart you already have.
- Do not pick or scratch the wart; this can spread the virus to nearby skin.
- Use a separate nail file or pumice stone for the wart and do not use it on healthy skin.
- Keep feet dry and change socks daily if you have plantar warts.
- Wear flip-flops or sandals in public showers, locker rooms, and around pools.
- Do not share towels, socks, shoes, or razors with others while you have active warts.
These simple habits reduce the chances that you’ll develop new warts or pass them to family members.
Using Wart Wizard at Home: Putting It All Together
Effective at-home wart removal with Wart Wizard is less about a single powerful treatment and more about steady, careful routine:
- Confirm it’s an appropriate wart to treat at home.
- Prepare and protect the surrounding skin.
- Apply Wart Wizard exactly as directed.
- Repeat on schedule and monitor progress.
- Stop and seek help if pain, infection, or lack of improvement occurs.
If you ever feel unsure about what you’re seeing on your skin, or if Wart Wizard isn’t giving you the results you expected, a brief visit or telehealth consultation with a clinician can help confirm the diagnosis and suggest next steps. For more skin and wart care resources, you can explore related guides in our Wart Wizard care category.
Thanks for reading our blog.